A little-known feature of iOS 5 is the ability to create custom vibrations for incoming calls. In this tutorial, I will show you how to enable custom vibrations, create them, and assign specific vibrations on a per-user basis, in the same way you can assign custom ringtones to specific users.
Enabling Custom Vibrations
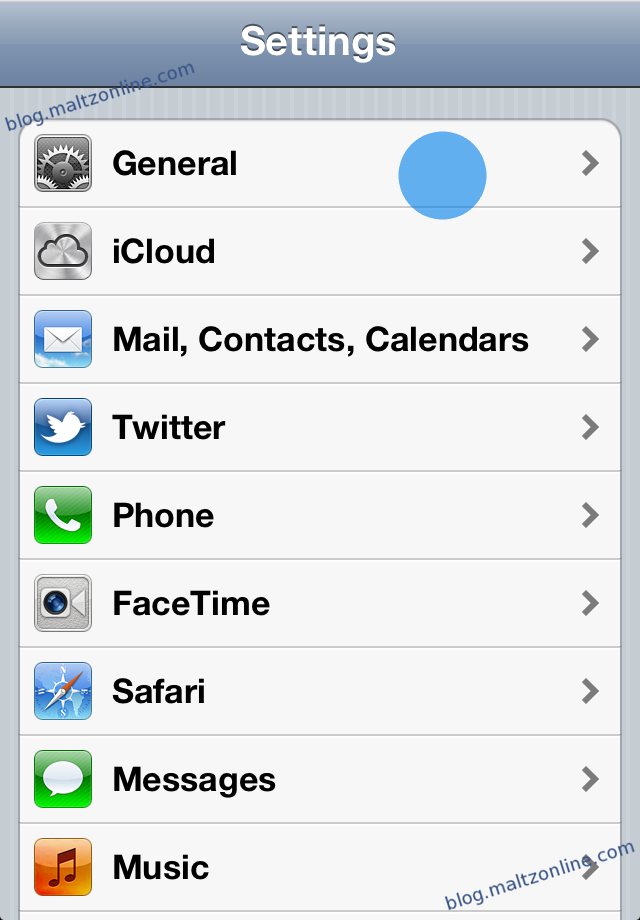
First, we must enable the “Custom Vibrations” feature. To do this, load Settings.app, and tap on “General”
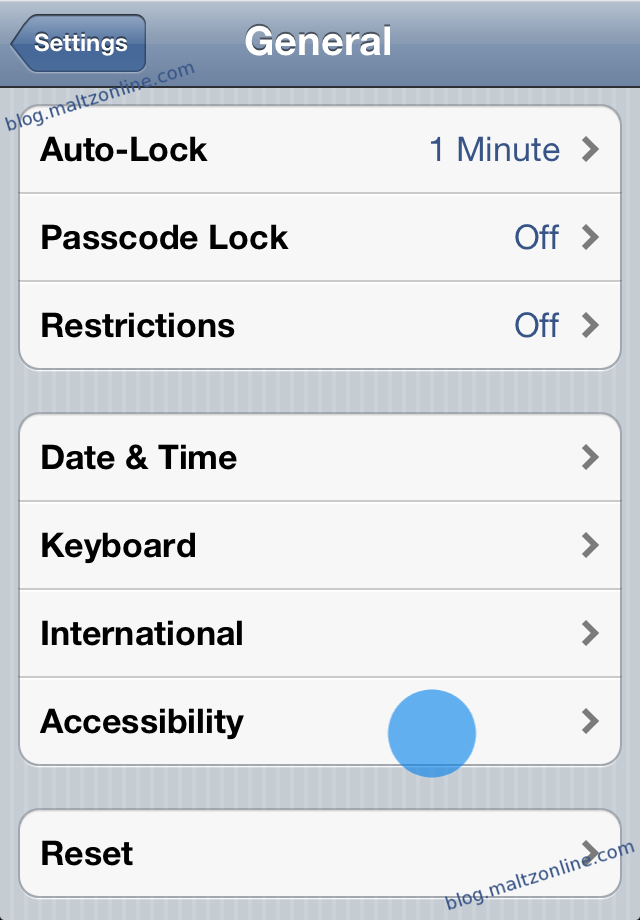
Next, scroll a bit, and tap “Accessibility”
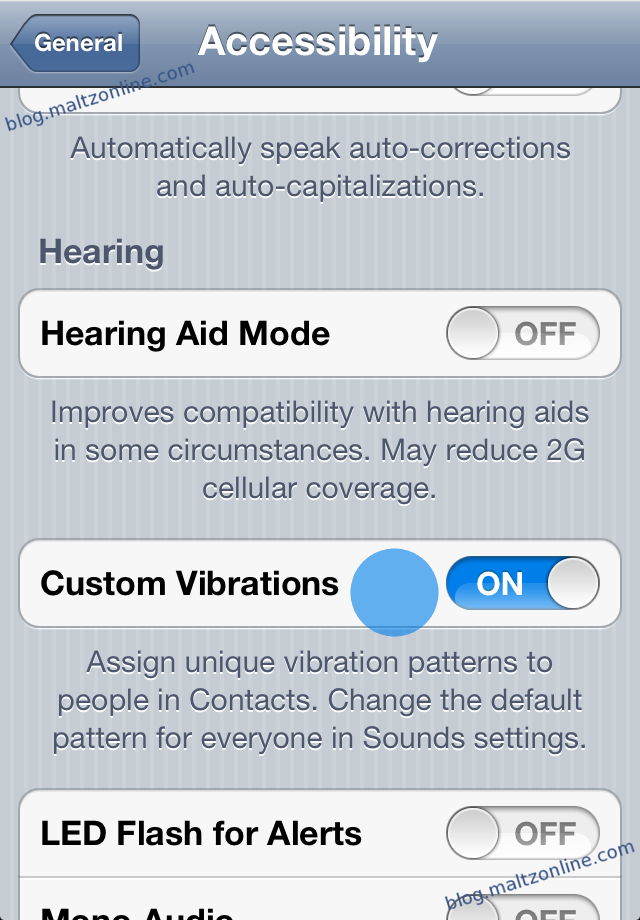
Scroll down in the Accessibility screen, and tap the slider next to “Custom Vibrations”, ensuring that it is set to “ON”
Now, we have enabled the option.
Create a Custom Vibration
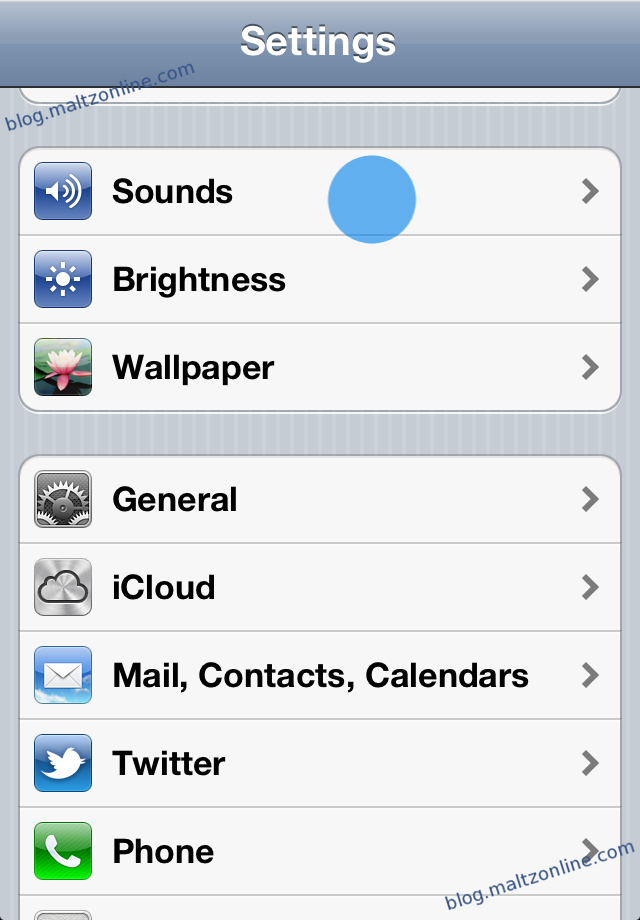
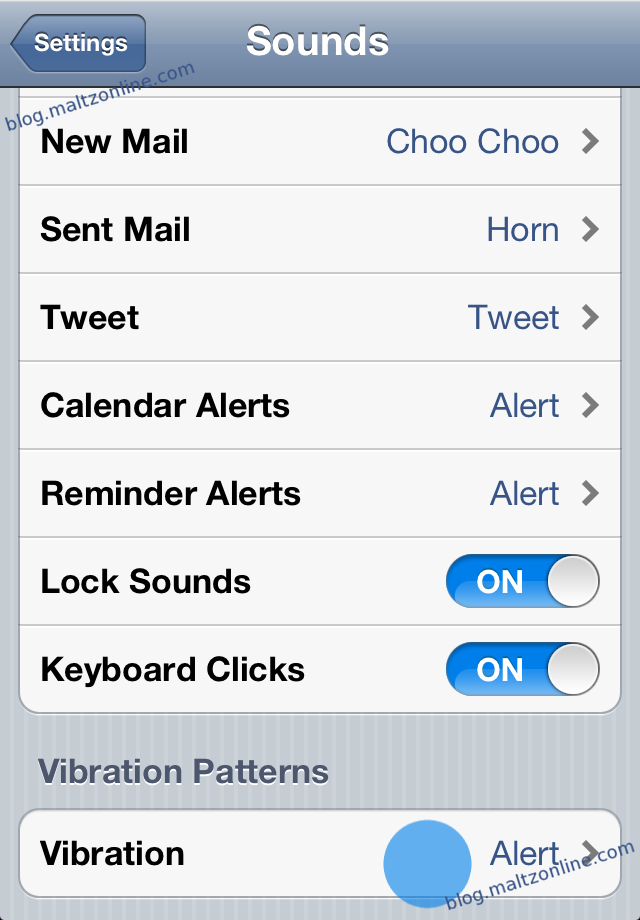
To create a custom vibration, return to the main screen in Settings.app, and tap on “Sounds”
Then, scroll to the bottom to reveal a “Vibration” option
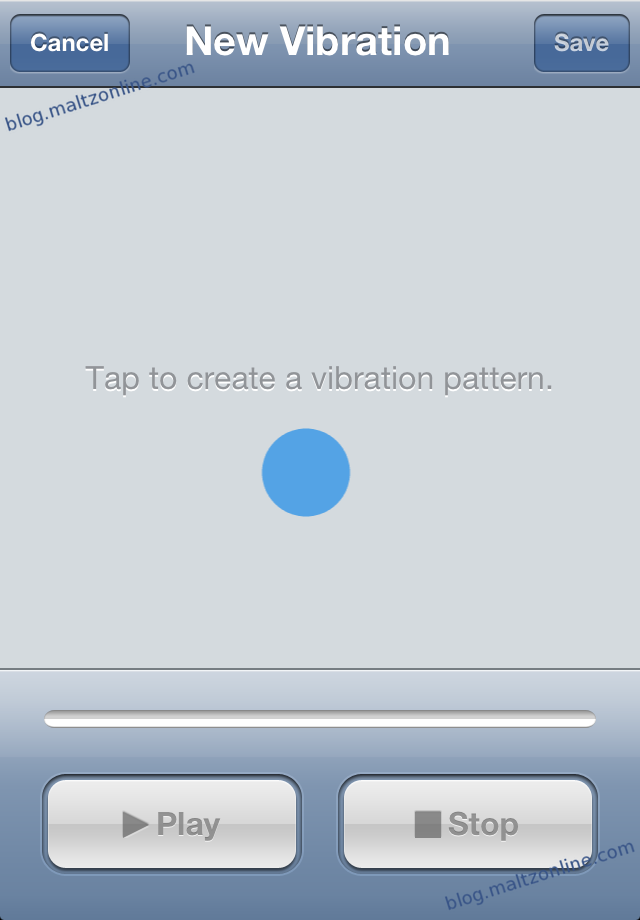
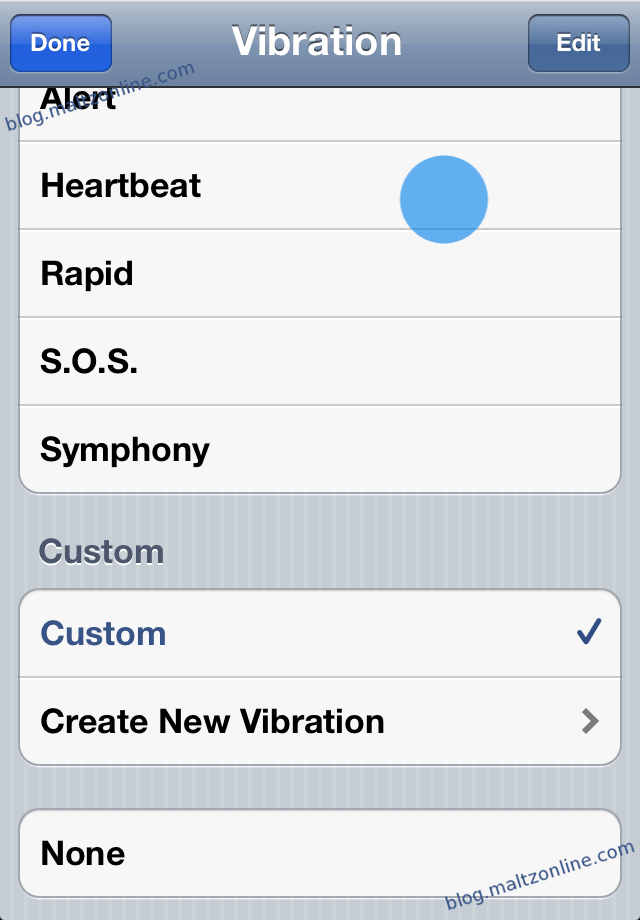
This screen presents you with an option of standard vibrate alerts to choose from, and the option to create a new one. Tap the bottom selection to begin
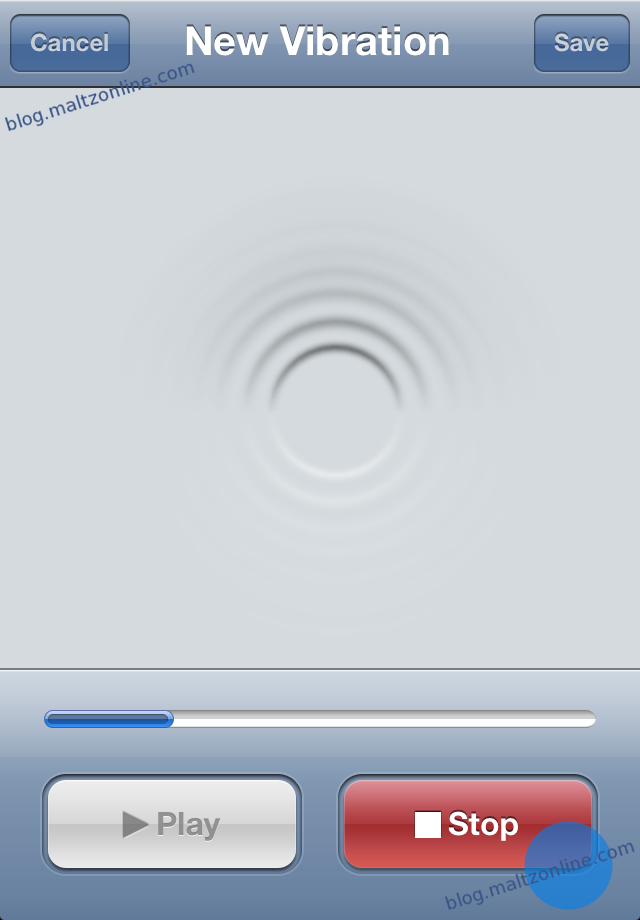
As the screen suggests, tapping on your screen will enable you to simulate a vibration. The longer you keep your finger pressed to the screen, the longer the resulting vibration lasts. You can also lift your finger and reapply it in order to create a pattern
When you have finished, press the “Stop” button at the bottom
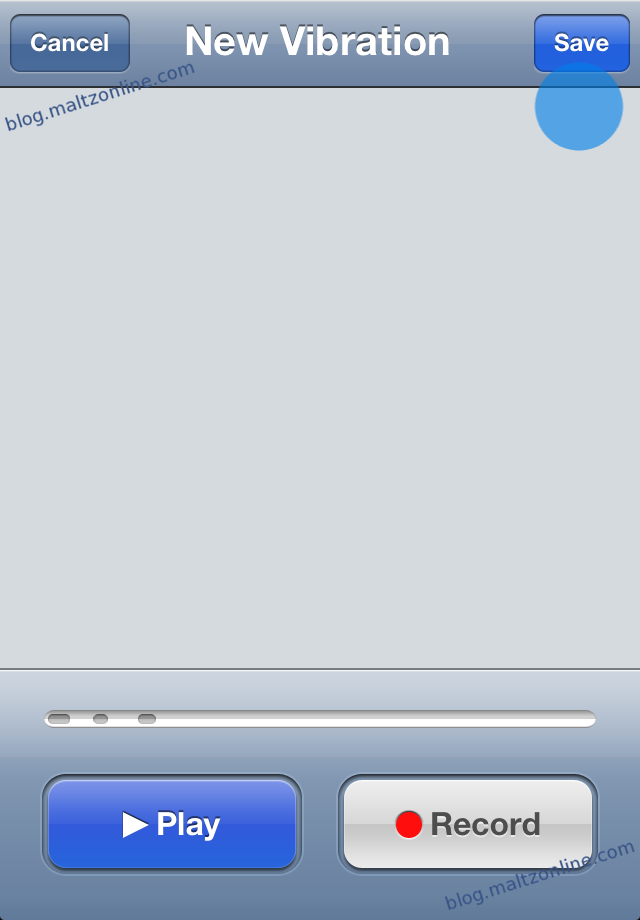
You may now playback the vibration, to preview how it will feel. If you are not satisfied with it, you can tap the “Record” button to start over. If you are satisfied, then you should tap the “Save” button on the top-right
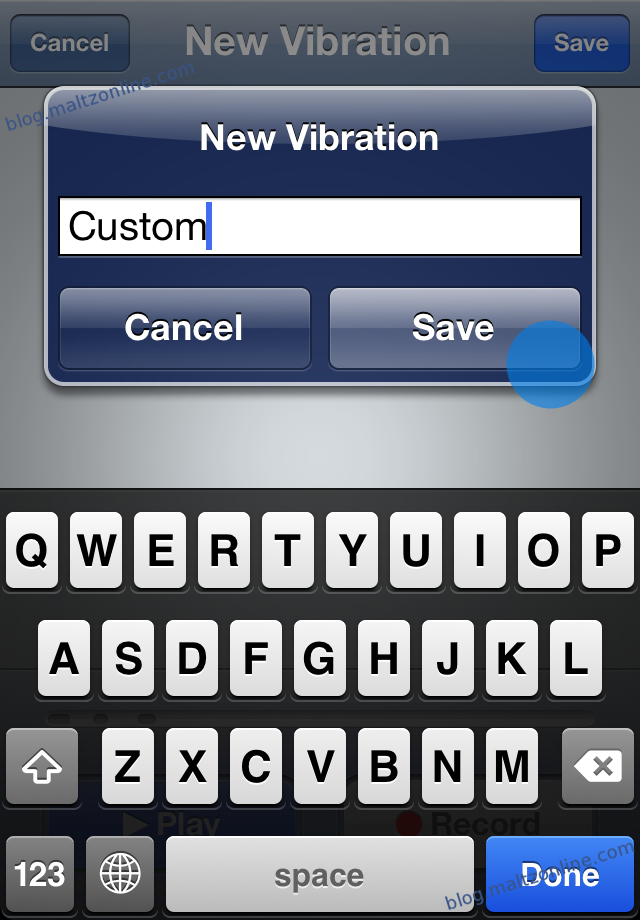
This presents you with a prompt to enter the name which refers to this sequence. When you have finished entering a name, tap the “Save” button
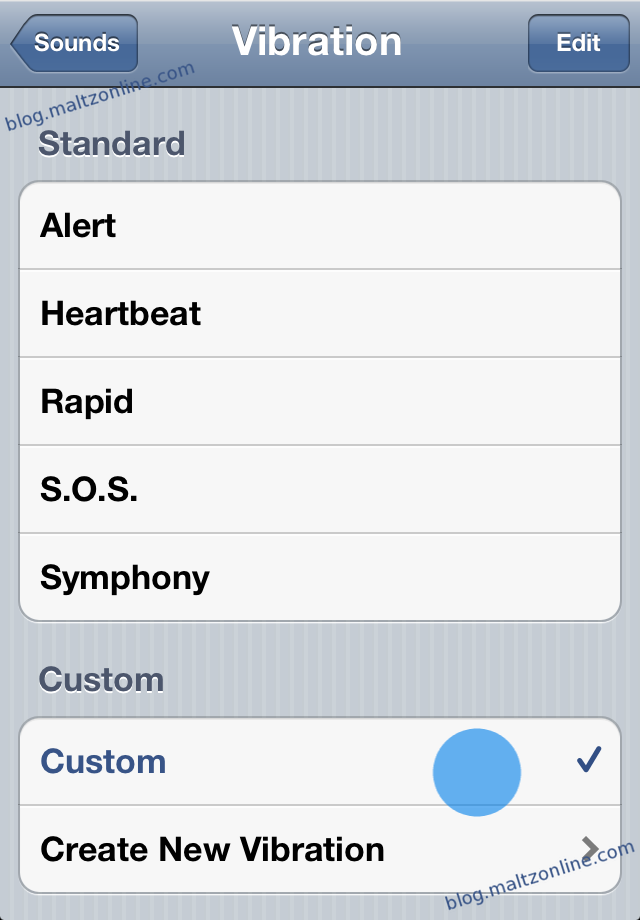
Back in the “Vibration” menu, you can now select your new vibration as the default
Note that if you’re interested in deleting a custom vibration, the typical swipe-to-delete feature works in this menu as well
Assigning a Custom Vibration on a Per-User Basis
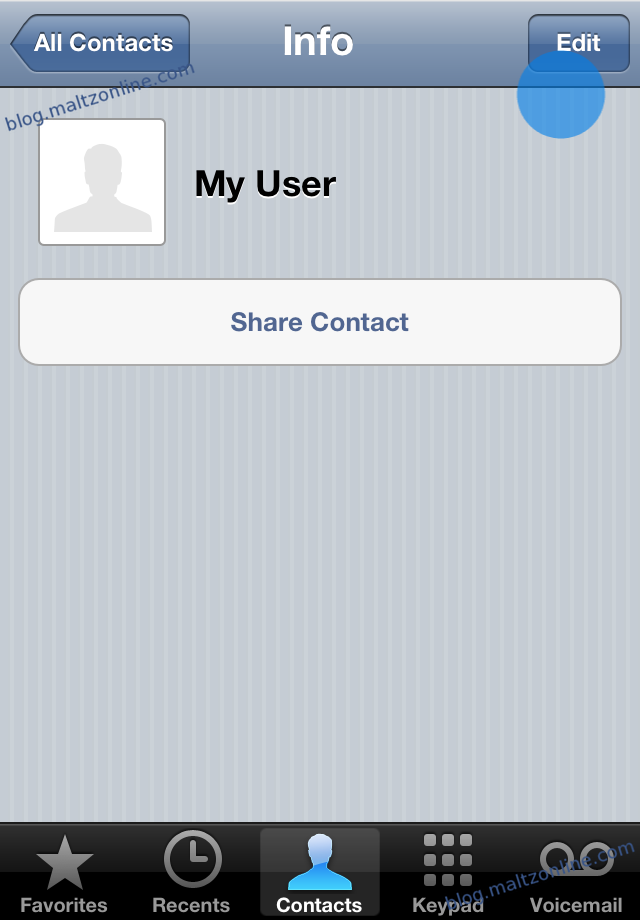
To assign a specific vibration to a user, open that user’s entry in the Address Book or Phone app, and tap the edit button
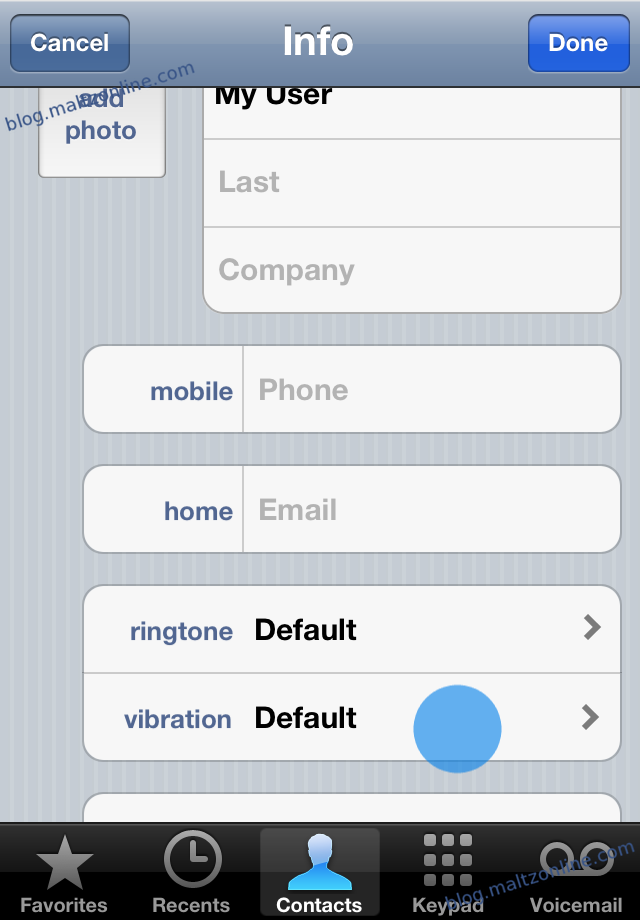
Then, scroll a bit, and tap on “Vibration”
And in the resulting menu, set the vibration to your choosing (the default option will be the option selected above)
And that’s all there is to setting up and using custom vibrations.
